You go downstairs because something smells off. It's earthy, stale, and heavier than a normal basement odor. Then you see it. Dark spotting along a concrete wall, maybe behind a shelf, maybe near the water heater, maybe running up from the floor line where stored boxes have been sitting for months.
That moment usually creates two bad instincts at once. One is panic. The other is overconfidence. People either assume the whole house is contaminated, or they grab bleach and start scrubbing before they know what they're dealing with.
Basement mold needs a calmer approach than either of those reactions. There's a real difference between a small, isolated patch on a hard wall and a larger contamination event that can spread spores through air movement, contents, and ductwork. If you want to know how to clean mold in basement walls, the first job isn't cleaning. It's making the right call about scope, safety, and moisture.
That Musty Smell A Guide to Basement Mold
A musty basement smell often shows up before mold becomes obvious. Homeowners tell me they noticed it after rain, after moving storage bins, or when they opened a basement door that had stayed shut for a few days. The odor matters because it often points to a moisture problem that has been active longer than the visible staining suggests.
Sometimes the source isn't mold at all. A floor drain, utility sink, or dried-out trap can create a smell that mimics basement contamination. If the odor seems stronger near plumbing fixtures, this expert guide to smelly drains can help you rule out one common cause before you assume every smell is wall growth.
Mold on basement walls is still common enough that the smell deserves respect. Concrete, brick, framing, insulation, cardboard, and old stored fabric all hold moisture differently. What looks like a simple surface issue may involve damp contents, repeated condensation, or outside water moving toward the foundation.
A few warning patterns show up again and again:
- Dark or fuzzy spotting: Growth may appear near the floor slab, around cracks, or behind shelving.
- Recurring odor after cleaning: That usually means the moisture source never stopped.
- Stored boxes against walls: Cardboard traps dampness and becomes part of the contamination.
- Changes after storms or plumbing events: Water entry often explains why mold appears suddenly.
Basement mold is rarely just a cleaning problem. It's a moisture problem that has become visible.
If you're still deciding whether what you're seeing fits a mold issue, this overview of signs of mold in your home can help you compare what you're noticing with common household warning signs.
The encouraging part is that basement mold usually becomes more manageable once you stop treating it like a mystery. The path forward is straightforward. Assess the size. Find the moisture. Decide whether it's a safe DIY job or a professional remediation job. Then act in that order.
First Steps When You Discover Basement Mold
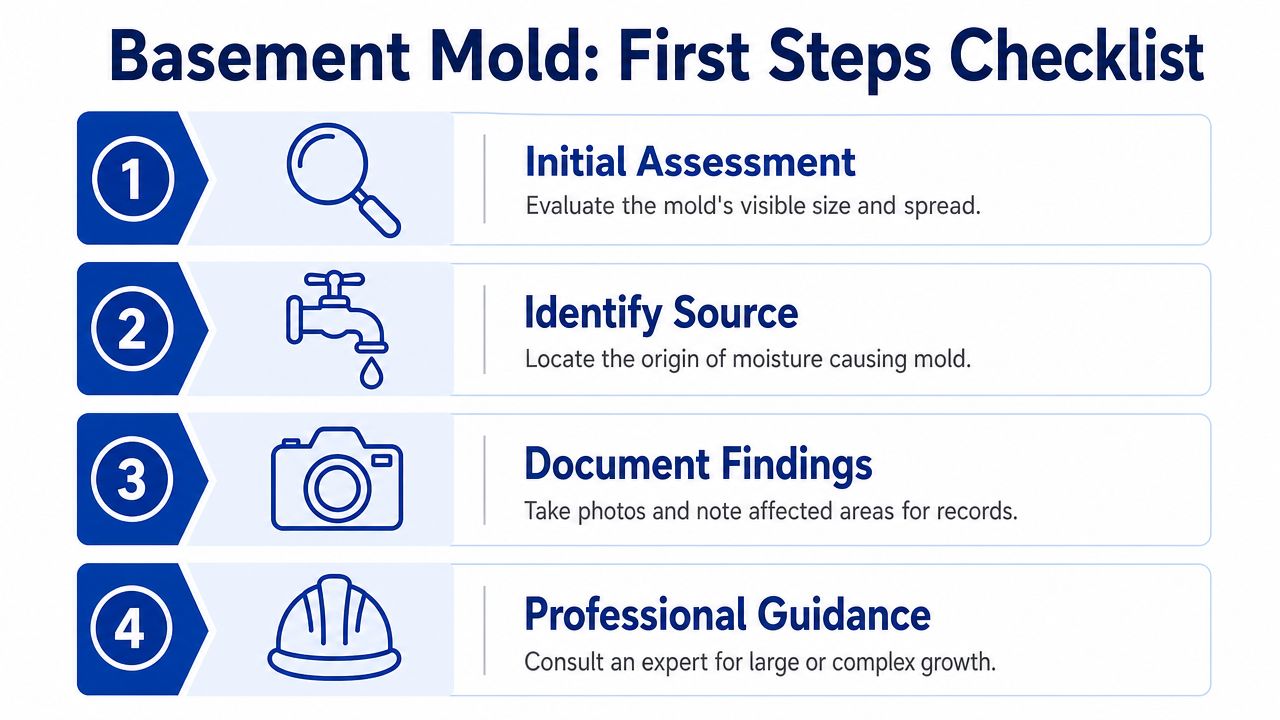
You pull a storage bin away from the wall and find black spotting, damp cardboard, and paint starting to bubble near the slab. That is the moment to slow down and assess the job like a remediation contractor would.
The first decision is scope. The second is material. The third is moisture source. In that order.
Measure the affected area
Use a tape measure and estimate all visible growth on the wall, not only the darkest patch. Include lighter staining or spotting that appears connected to the same area. EPA guidance treats roughly 10 square feet as the practical cutoff where larger contamination often warrants professional remediation because disturbance can spread spores and hidden growth is more likely behind finishes (EPA mold cleanup guidance).
That threshold matters because it changes the risk profile. A small patch on a basement wall can stay a controlled cleanup job. A larger area often means more wall cavity contamination, more affected contents, and a higher chance that a DIY attempt will spread debris and spores beyond the original spot.
Identify what the mold is on
The surface tells you a lot. Growth on sealed concrete is handled differently than growth on drywall paper, insulation, wood studs, carpet tack strips, or stored boxes pressed against the wall. Porous materials can stay contaminated below the surface even after they look cleaner.
That is why professionals do not make decisions by color alone. If you want a clearer reference for what may be growing on household materials, this guide to different types of mold in homes can help you compare common appearances during your inspection.
Also check the contents near the wall. Basement mold jobs often fail because the wall gets attention and the nearby boxes, fabrics, books, and furniture do not. If those items are damp or moldy, they need to be evaluated, cleaned, discarded, or isolated. Otherwise the odor and contamination often return.
Find the moisture source before cleaning
Mold on basement walls means moisture is active now or was active recently. Cleaning before you identify that source usually wastes time.
Check these points methodically:
- Look for active plumbing leaks. Check supply lines, shutoffs, hose bibs, utility sinks, water heaters, softeners, and condensate drains.
- Check for foundation seepage. Damp wall edges, white mineral deposits, staining after rain, and wet floor joints often point to water entry.
- Check humidity and condensation. Cold masonry, poor airflow, and basement humidity can keep wall surfaces wet enough for repeated growth.
- Inspect outside drainage. Short downspouts, clogged gutters, and negative grading can push water toward the foundation.
If the mold appeared after a burst line, failed water heater, or active leak, fix the water problem first. A local San Antonio emergency plumber or another qualified plumbing professional may be the right first call before any cleanup starts.
Document the scene before you disturb it
Take wide photos of the room, close photos of the affected wall, and a few shots that show nearby contents and any water staining. Write down the date, what rooms are affected, what materials are involved, and whether the growth followed a storm, plumbing event, or long-term dampness.
A simple record helps with two decisions. It helps you decide whether the job is still small enough for DIY work, and it gives you a cleaner paper trail if you need to talk with an insurer, landlord, or remediation contractor.
| Item | What to record |
|---|---|
| Wall growth | Size, location, visible spread pattern |
| Nearby contents | Boxes, furniture, textiles, paper goods |
| Moisture clues | Leaks, condensation, seepage, staining |
| Timeline | First odor, first spotting, recent water events |
If you are unsure whether the area is small enough, whether wall materials need removal, or whether contents are contaminated beyond simple cleaning, that uncertainty is itself useful information. It usually means the job needs a higher level of control than a quick spray-and-scrub approach.
Essential Safety Gear and Containment Protocols
Most failed DIY mold jobs don't fail because the person didn't scrub hard enough. They fail because the work area was never controlled.
Once mold is disturbed, spores move. They settle into stored contents, ride air currents, and can spread through vents if the area isn't isolated. That's why professionals treat containment as part of the cleaning itself, not as an optional extra.
The minimum safety baseline
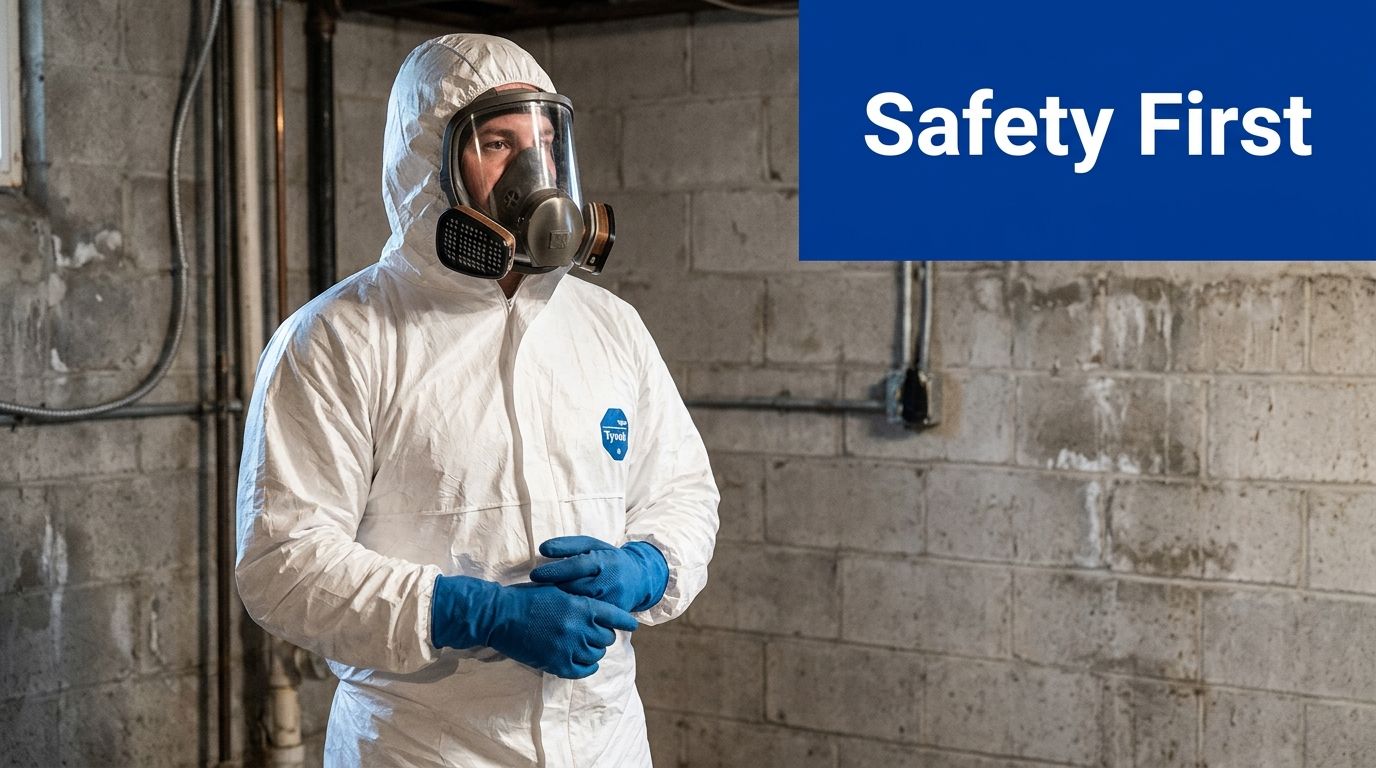
OSHA standards 29 CFR 1910.134 and 29 CFR 1910.1200 apply to mold work and require NIOSH-approved respirators, proper PPE fitting, and hazard communication protocols (OSHA standards overview). In practical terms, that means respiratory protection and protective clothing are not cosmetic. They're there because mold removal creates exposure.
For homeowners handling a very small area, the goal is to reduce inhalation and keep spores off skin and clothing. For larger jobs, professional standards escalate quickly.
A basic PPE checklist should include:
- Respiratory protection: A NIOSH-approved respirator appropriate for the task.
- Eye protection: Goggles that protect against splashes and disturbed particles.
- Gloves: Disposable or chemical-resistant gloves depending on the cleaning agent.
- Protective clothing: Clothes that can be bagged and washed, or disposable coveralls for dirtier work.
For a broader overview of protective equipment used in contamination work, 360 Hazardous Cleanup has a useful page on PPE for biological hazards.
How professionals isolate a mold area
Containment prevents a wall problem from becoming a house problem. The method matters.
For expert-level basement wall remediation, one accepted protocol starts with 6-mil heavy-duty plastic sheeting sealed with painter's tape, sealing HVAC vents, and establishing negative air pressure with an exhaust fan vented outward while bringing air from an opposite opening (remediation procedure summary). The reason is simple. Air should move out of the work zone, not into the rest of the home.
A homeowner tackling a very limited area can borrow the logic even if the setup is simpler:
- Seal the work zone: Plastic sheeting helps isolate the area.
- Cover supply and return vents: Don't let spores enter the system.
- Limit foot traffic: One set of shoes moving through the house can spread contamination.
- Bag waste inside the work area: Don't carry open debris through finished spaces.
Here's a visual walkthrough of why those controls matter in real-world mold work.
When safety standards move beyond DIY
OSHA guidance says isolated remediation areas up to 30 square feet may be handled by regular building maintenance staff with proper training, but above that threshold OSHA recommends professional remediation oversight or execution (OSHA guidance summary). For areas greater than 100 square feet, OSHA mandates more intensive controls, including full-body protection, approved respirators, HEPA-filtered exhaust systems, and decontamination airlocks (OSHA fact sheet).
The EPA also specifies full PPE, including a PAPR and Tyvek® suits, when more than 100 square feet of mold is present or when high airborne dust levels are expected, along with sealing vents with polyethylene sheeting (EPA mold course guidance).
That's the line many homeowners miss. The larger the contamination, the less this resembles cleaning and the more it becomes controlled hazardous remediation.
The Correct DIY Cleaning Process for Small Areas
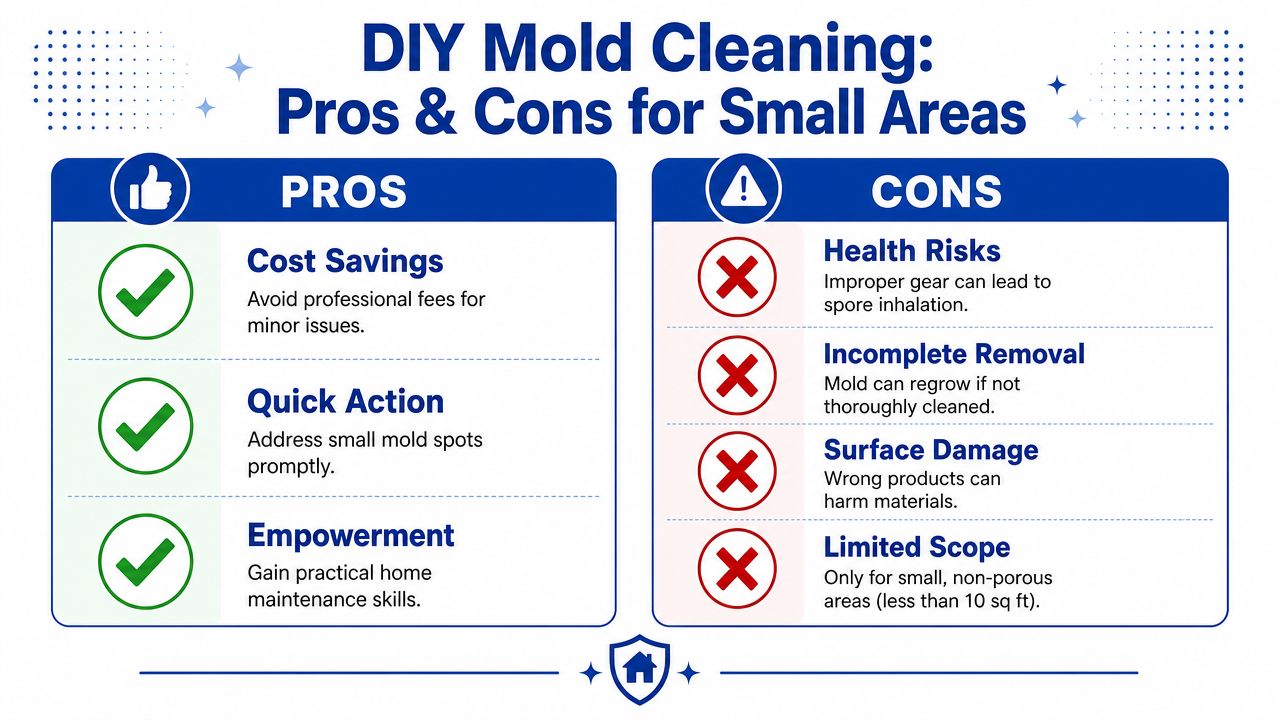
A homeowner can clean a small mold patch safely in some cases. The decision hinges on scope, surface type, and moisture control, not on how easy the stain looks to wipe off.
Keep DIY work limited to contamination under 10 square feet on hard or sealed surfaces, with the leak, seepage, or humidity problem already identified. If the growth keeps returning, the wall feels soft, the material is unfinished drywall or insulation, or anyone in the home has asthma, immune compromise, or severe mold sensitivity, stop and bring in a qualified remediator. Professional standards exist because once spores spread through a basement, the job shifts from cleaning a wall to controlling contamination.
Skip bleach on basement walls
Bleach is a poor choice for many basement mold jobs, especially on concrete, block, wood, and other porous materials. It can lighten the surface staining and leave growth deeper in the material. In a basement with limited airflow, it also adds irritating fumes without solving the moisture problem that allowed mold to grow.
A wall that looks cleaner is not the same as a wall that is clean.
If you want a side-by-side look at options that are appropriate for limited cleanup, this guide to mold removal products is a useful reference.
What to use instead
For small areas on non-porous or sealed surfaces, start with soap or detergent and water. That aligns with EPA guidance for routine mold cleanup on hard surfaces because the goal is to remove the growth and the dirt film feeding it, not just spray a chemical and hope it dies in place (EPA mold cleanup guidance).
Some homeowners also use 3% hydrogen peroxide or undiluted white vinegar after the initial wash on suitable surfaces. That can help with residue on masonry or sealed wall surfaces, but contact time and scrubbing still matter. No spray replaces physical removal, and no cleaning product fixes bulk water intrusion. If you have not pinned down the source, start with diagnosing basement moisture sources before you assume the wall treatment failed.
A safe step-by-step process
Clear only what you need to clear. Move nearby items out of the immediate work zone without dragging dusty boxes all over the basement. Items stored beside moldy walls may also need HEPA vacuuming or disposal later, even if the wall area itself is small.
Mist the surface lightly if loose dust is present. The goal is to avoid sending spores airborne with dry brushing.
Wash first. Use warm water with a mild detergent and a cloth, sponge, or scrub pad to remove visible growth and grime from the wall.
Use a follow-up cleaner only if the surface can handle it. On sealed concrete, painted masonry, or similar durable surfaces, apply 3% hydrogen peroxide or white vinegar according to the label directions, then scrub with a stiff nylon brush. Do not mix cleaning agents.
Wipe and contain residue as you go. Disposable rags, paper towels, and other debris should go straight into a trash bag inside the work area.
Check the material, not just the stain. If paint is lifting, drywall paper is damaged, or the wall remains discolored deep below the surface after cleaning, that often points to a porous material problem rather than a simple surface cleanup.
Dry the area fast. EPA guidance for water-damaged materials stresses drying within 24 to 48 hours to reduce mold growth, and that same timeline matters after cleanup because damp surfaces support regrowth (EPA moisture and mold guidance).
Drying is the point where many DIY jobs fail. Run a dehumidifier, keep air moving, and leave storage away from the wall until the surface is fully dry to the touch and the basement humidity is under control. Do not paint over suspect areas to hide staining. Paint can trap the problem, cover evidence you may need for an insurance discussion, and make later inspection harder.
Post-Cleaning Prevention and Moisture Control
A basement can look clean and still be set up for mold to return within weeks. The deciding factor is whether you removed the moisture problem and dealt with the materials around the wall that can keep carrying spores.
Contents are the part homeowners skip most often. I see walls cleaned carefully, then the same damp cardboard boxes, fabric bins, paper files, and stored furniture go right back against the foundation. That can restart odor and contamination even when the wall itself was handled correctly.
Deal with contents before you reset the room
Treat stored items as a separate cleanup decision, not an afterthought.
- Throw out low-value absorbent items that stayed damp or show spotting: Cardboard, paper goods, cheap fabric, and particleboard are poor candidates for reliable cleanup.
- Clean hard, salvageable items before they go back: Plastic bins, metal shelving, and similar non-porous items can be HEPA vacuumed and wiped down.
- Be cautious with upholstered furniture and unfinished wood: These materials hold spores deep below the surface and often need a professional judgment call.
- Keep everything off the basement floor and away from walls until the area is stable: If the room still feels damp or smells musty, it is too soon to move contents back.
A persistent musty odor after wall cleaning often points to hidden moisture, contaminated contents, or both.
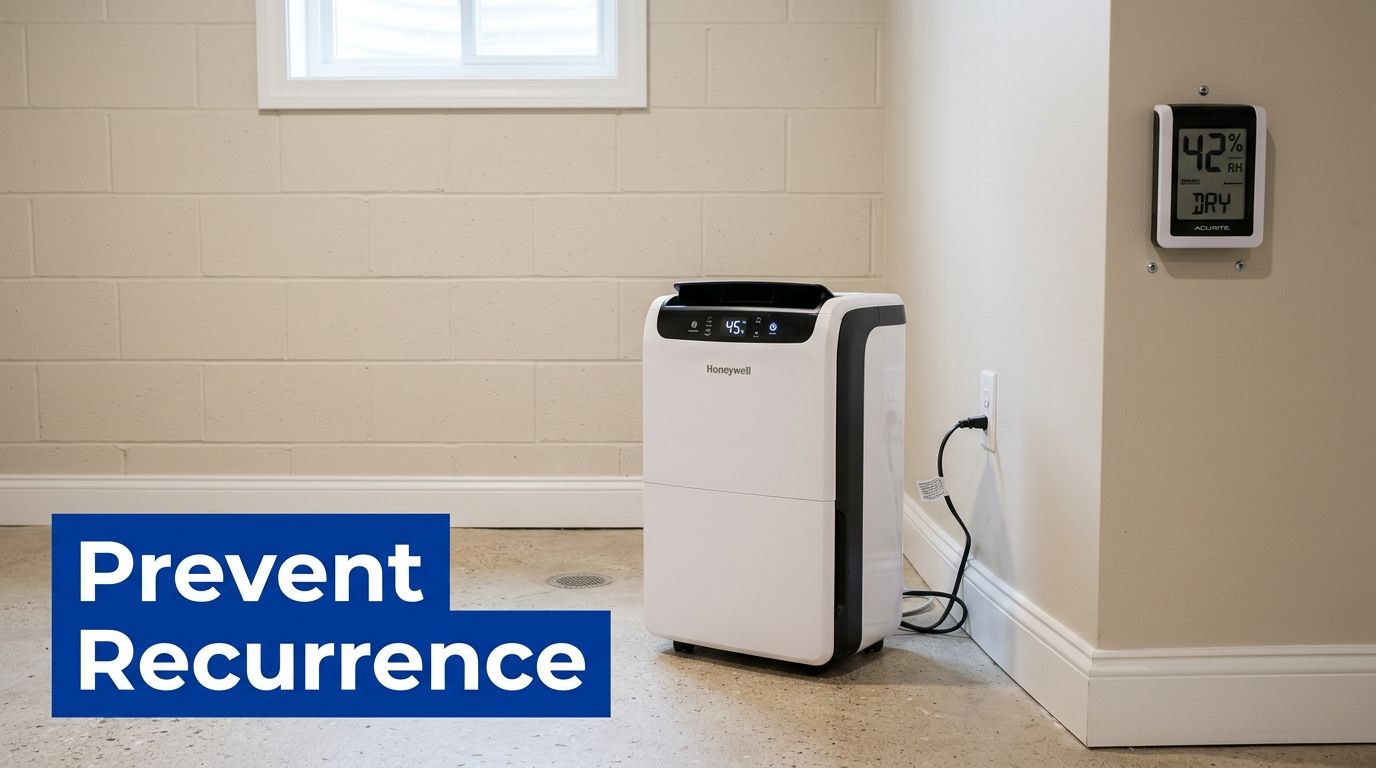
Control humidity and drainage
The target is simple. Keep basement relative humidity below 60 percent, and many basements do better closer to 50 percent or lower. The EPA's mold guidance ties prevention to moisture control, not surface treatment alone (EPA mold and moisture guide).
Start measuring instead of guessing. Use a hygrometer, run a dehumidifier that can keep up with the space, and empty or drain it reliably. If humidity rises again after rain, the basement is probably dealing with exterior water entry, not just indoor moisture.
Outside drainage matters as much as the dehumidifier. Check whether soil slopes away from the house, whether gutters overflow near the foundation, and whether downspouts discharge far enough from the wall to keep water from cycling back into the basement. If you're tracking down where dampness is really coming from, this resource on diagnosing basement moisture sources is a practical companion to your inspection.
Build a basement that stays dry
Long-term prevention usually comes from several plain fixes done consistently:
| Problem pattern | Better response |
|---|---|
| Short downspouts | Extend discharge away from foundation |
| Flat soil near wall | Regrade so water moves away |
| Humid basement air | Run a correctly sized dehumidifier and monitor RH |
| Storage tight to walls | Leave inspection space and improve airflow |
| Recurring seepage after storms | Document dates, photos, and moisture readings for repair planning or insurance discussions |
Documentation helps more than many homeowners realize. If staining returns, if seepage follows a weather event, or if you need to discuss coverage or foundation work, dated photos and humidity readings give you a clean timeline of what changed and when.
For broader house-level prevention habits, this guide on preventing water damage for a dry and safe home fits well with a basement moisture-control plan.
Mold prevention is a systems job. Dry air, controlled drainage, clean contents, and good records all matter.
When to Call a Professional Mold Remediation Expert
A homeowner can sometimes manage a small, isolated patch on a hard wall. Beyond that, the trade-offs change fast.
Call a professional if the mold covers more than 10 square feet, if it involves drywall, insulation, or framing, if the basement has recurring moisture you haven't solved, or if odor remains after cleanup. Those conditions mean the issue may extend beyond what surface cleaning can fix safely.
The strongest case for professional intervention is performance and control. Professional mold remediation on basement walls achieves a 95% removal success rate, whereas DIY attempts without containment or negative air pressure report only 60 to 70% success due to uncontrolled spore dispersion. In addition, 78% of mold regrowth cases occur within 6 months when the root moisture source is not professionally addressed (benchmark data).
What professionals do differently
A qualified remediation team doesn't just wipe walls. They make decisions in a sequence that protects the structure and the people living in it.
- Scope the contamination correctly: They assess visible growth, adjacent materials, and likely hidden spread.
- Use proper containment and air control: That reduces cross-contamination during active work.
- Handle disposal compliantly: Mold-impacted porous materials often need controlled removal and bagging.
- Address moisture as part of the job: Without that, the cleanup has a short shelf life.
- Document conditions for insurers: Photos, moisture findings, and remediation notes matter when claims are involved.
For homeowners navigating a stressful event, that documentation support can be almost as important as the cleaning itself. A remediation provider such as 360 Hazardous Cleanup can assist with mold-related documentation, insurance communication, and controlled cleanup when the situation goes beyond a safe DIY scope.
The right decision is the safe decision
If you're debating whether to handle it yourself, ask a harder question. Can you contain spores, protect your lungs, isolate contents, correct the moisture source, and verify the area is dry and clean when you're done?
If the answer is no, bringing in a trained remediation team isn't overreacting. It's risk control.
If you're facing basement mold and need a clear, compliant next step, 360 Hazardous Cleanup provides mold remediation support, documentation for insurance, and discreet response for residential and commercial properties. When the problem is larger than a safe DIY cleanup, the goal is simple: contain it correctly, remove it thoroughly, and help prevent it from coming back.